
Email setup
Before your team can work in Jelly, its email has to be connected. Mail sent to your team's address needs to arrive in Jelly, and the replies you write need to go out from that same address. This section takes you through it, and you don't need to have set up email before.
Only Admins and the Owner can set up email. Whatever you connect is shared with the whole team.
The setup page
The setup page is a short checklist for a new team. To open it, go to Team settings in the account menu (your picture, top right) and choose Set up at the top of the Settings sidebar. If your inbox says Nothing can arrive here yet, its Set up the team button takes you to the same page.
There are three steps:
- Name the team. Type a name in Team name and press Save.
- Connect the team's mail. Type the address your customers write
to, such as
support@yourcompany.com, and press Continue. That starts the email setup, which guides you through the rest. - Invite the team. This takes you to Members, where you invite the people who'll answer the mail. See People and roles.
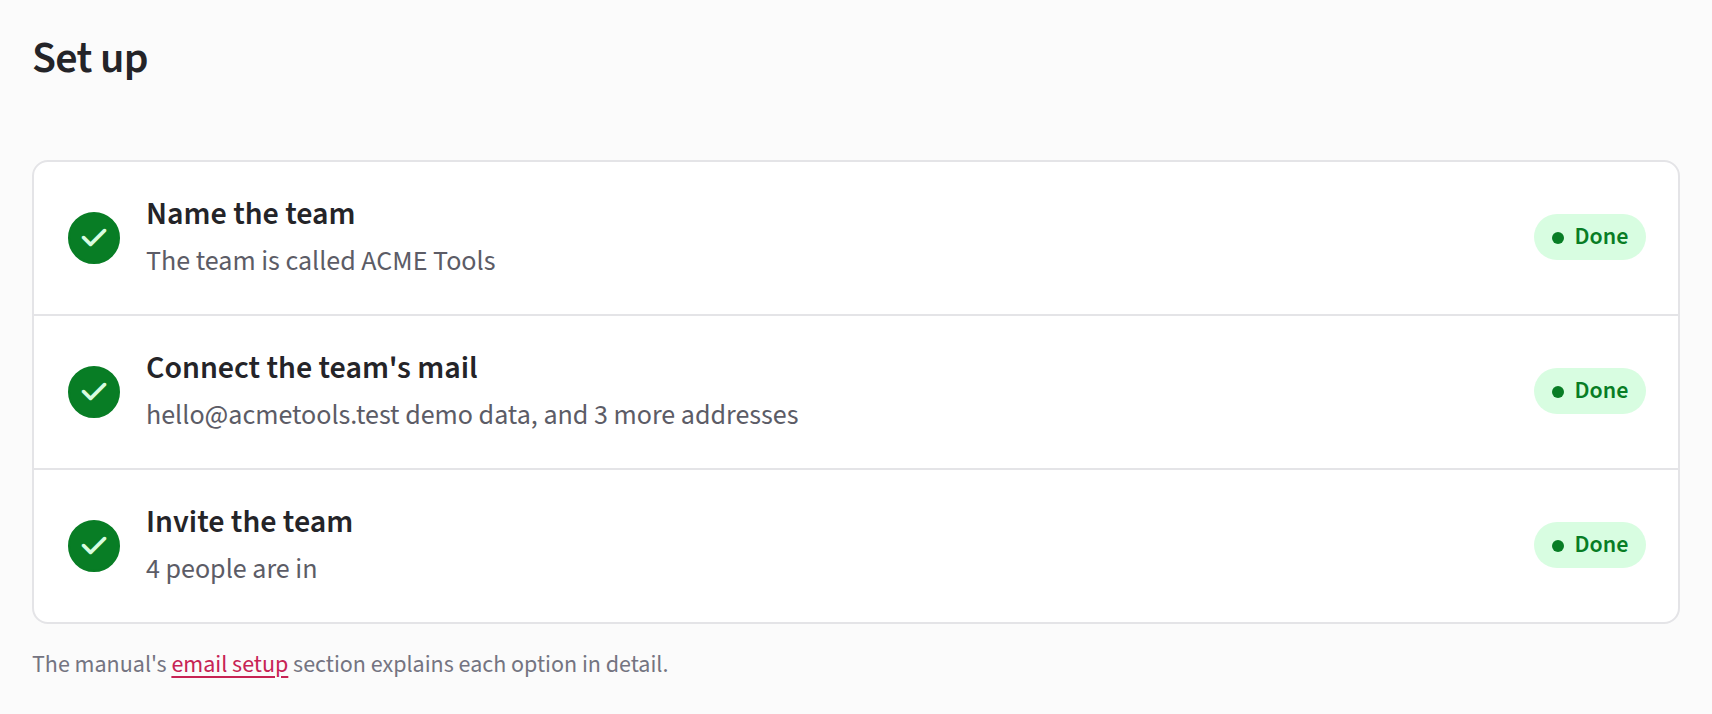
Each step is marked To do, Partly or Done. A step that's only partly done tells you what's missing and links to the page where you can finish it. When all three are done, Set up disappears from the Settings sidebar.
Until an address is connected and verified, an empty inbox says Nothing can arrive here yet, and Members are told that an admin still has to connect the team's mail. Once mail is arriving, Admins and the Owner see a Not set up yet reminder above the inbox while any steps are left. Press Got it × to hide it for yourself.
How email gets in and out
Every address your team uses needs two things:
- Receiving. Mail that customers send to the address has to reach Jelly, so it shows up in the inbox.
- Sending. Replies written in Jelly have to leave through a mail server that's allowed to send as your address, so they arrive looking like any other mail from you.
Some ways of connecting do both. Others do one, and you pair them with something that does the other.
| Connection | Brings mail in | Sends replies |
|---|---|---|
| A Google account (Gmail or Google Workspace) | Yes | Yes |
| Postmark (a mail service you sign up to) | Yes | Yes |
| An IMAP account (reading your existing mailbox) | Yes | No |
| Forwarding your mail to Jelly | Yes | No |
| An SMTP server (your provider's outgoing server) | No | Yes |
The usual pairs are an IMAP account with your provider's SMTP server, or forwarding with an SMTP server.
Settings → Connections lists Gmail, Postmark, IMAP and SMTP, and says whether each one is working. Each opens a page of its own.
Choosing the right route
Find the line that describes where your team's mail lives today.
- A Gmail or Google Workspace mailbox of its own: connect the
Google account. This is the quickest route. There are no
server details to find and nothing to change on your domain. (Your
domain is the part of your address after the @, such as
yourcharity.org.) - A Google Group, a collaborative inbox, or an extra address on someone's own Google account: forward its mail to Jelly, and send replies through a Google account that's allowed to send as it.
- Microsoft 365 or Outlook.com: forward the mail to Jelly, and send replies through an SMTP server, or through Postmark if Microsoft won't allow that. See Microsoft 365 and Outlook.com.
- Another provider, such as Fastmail, iCloud, Zoho or your web host: read the mailbox with an IMAP account, and send through the same provider's SMTP server. If you don't know your provider's settings, ask whoever set up your email (often the company that runs your website) for its "IMAP and SMTP settings".
- You'd like a dedicated mail service for the team, or you want to know whether each reply was delivered: use Postmark. It takes more setting up than the others.
Which kind of Google address do you have?
Google addresses come in three kinds, and they connect differently.
Take your team's address, say info@:
- If
info@has its own password, and you sign in to Gmail asinfo@, it's a mailbox. - If mail to
info@lands in several people's own inboxes, it's a group. - If mail to
info@lands only in your own inbox, it's an extra address (an alias) on your account.
Email setup, step by step
The email setup is a short series of pages that connects one address. You start it from the Connect the team's mail step on the setup page.
-
Type the address your customers write to, and press Continue. Jelly adds it to the team's addresses straight away.
-
Say what kind of address it is, if Jelly asks. For an address hosted by Google, Jelly asks What is <address>? Choose A mailbox or A Google Group or collaborative inbox, using the test above. For an extra address on someone's account, choose the group. If you pick the wrong one, the next page has a link to switch.
-
Choose how mail gets in. Under How does this address get its mail?, Jelly offers the routes that fit your address:
- Connect the Google account, for a Google mailbox. This covers receiving and sending in one go, so the setup skips straight to the finish.
- Read the mailbox over IMAP, for a mailbox anywhere else. Jelly fills in the server details for well-known providers.
- Forward mail here, for a Google Group or any address that isn't on Google. The page shows the address to forward to. See Forwarding.
If you're offered both IMAP and forwarding, here's the difference. IMAP needs only your mailbox's settings, and replies you send from your usual mail app show up in Jelly too. Forwarding delivers mail the moment it arrives rather than within five minutes, but you have to set up a forwarding rule at your provider.
-
Choose how replies leave. After IMAP, the Now the sending half page asks how replies should go out. After forwarding, press Next: send through an SMTP server.
-
Prove it works. Jelly asks you to send one message each way:
- Under Receiving, send an email to the address from any other account, such as your own. If Jelly reads the mailbox over IMAP, press Check for it now so you don't have to wait.
- Under Sending, press Send a test message. Jelly sends a message from the address to you.
Each line changes to Working once Jelly has seen that half work. When both have, the address is Verified, and there's nothing else to press.
-
Finish. The page says <address> is ready. Press Back to the checklist.
If your team already uses Postmark, a new address that isn't on Google goes straight to Prove it works, because Postmark handles both directions.
Using more than one connection
Each address has its own connection, so a team can mix them. For
example, support@ could use a Google account while sales@ is read
over IMAP and sends through an SMTP server. You can have several
Google accounts, IMAP accounts and SMTP servers, but only one Postmark
server. Your plan limits how many
addresses the team can
have.
To connect another address later, open the email setup again and type the new address.
The ways to connect
Once mail is flowing, Addresses is where you name each address and choose the default. Relayed senders is for services that write to you on a customer's behalf, such as a contact form, and Deliverability helps keep your replies out of spam folders.